speed-opportunity-finder
Landing Page Speed Opportunity Finder
Deploying the solution
-
If you haven’t already, create a new Google Cloud Project. You can also reuse an existing project if you prefer, but you will need to ensure none of the existing deployed apps and big query tables conflict with those required by the opportunity finder.
-
In the Google cloud console, clone the solution repository
-
Run the installer script with the command
$ bash install.sh. If you don’t already have an app engine application for this cloud project, you will be asked to create one. Follow the directions and be sure to select the correct region. -
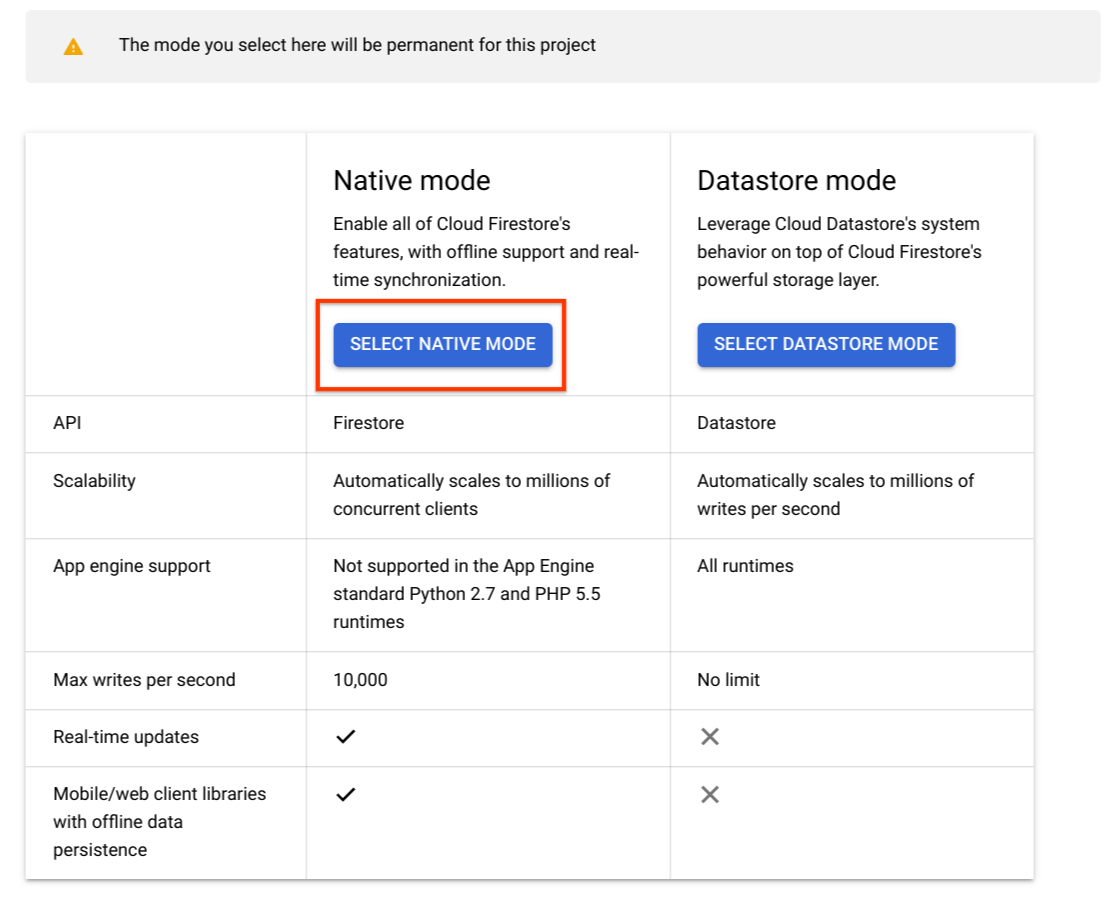
Enable Firestore in native mode for the project. Please be sure to select native mode. This cannot be changed, so if you choose Datastore mode, or are trying to reuse a project where Datastore mode is already in use, you will need to create a new project.
Finishing the deployment
-
Collect all of the credentials required to use the tool.
-
Enter the credentials you gathered on the config page of your deployed app. This should be located at
http://config-service.<defaultHostname>.appspot.com/config -
Once the credentials are entered, click the Start OAuth Flow button and complete the OAuth flow to provide the solution access to your Ads accounts. If successful, the page below will be shown. Please Note: This step must be carried out by someone with access to the MCC you are using for the solution.
-
To test the solution and start the first round of data collection, ping the controller service. This should be located at
https://controller-service.<
defaultHostname>.appspot.com
. Please note that the page will likely time out before you receive a reply. To see if it worked, check the Cloud logs and the BigQuery tables. -
Set the Cloud project firewall rules to only allow access to the services, excepting the config service, from the app itself. This will ensure outside actors are not using project resources or adding unwanted data to the BigQuery tables.
Attaching the dashboard
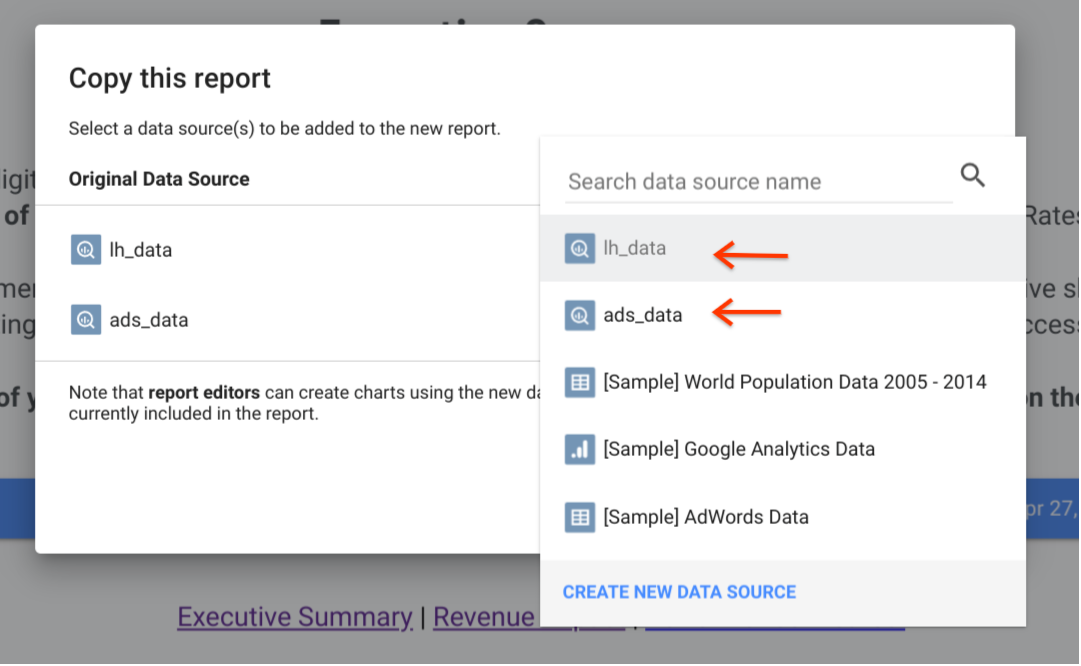
The final step is to attach the Data Studio dashboard to the backend. Follow the steps below to and be sure to copy the data sources first to ensure the calculated fields in the data sources are maintained.
- Make a copy of both of the data studio data sources and connect them
to appropriate BigQuery tables in your cloud project. The connectors can
be found here:
- lh_data data source
- ads_data data source
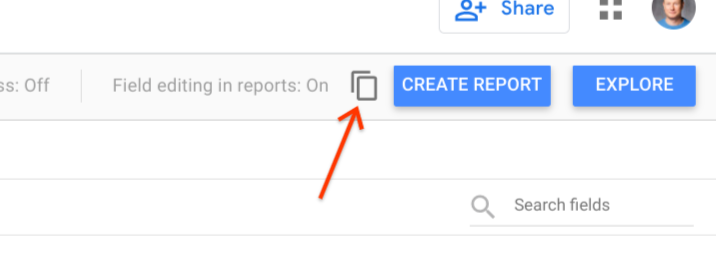
Use the copy icon, located next to the CREATE REPORT button, to make the copy.
-
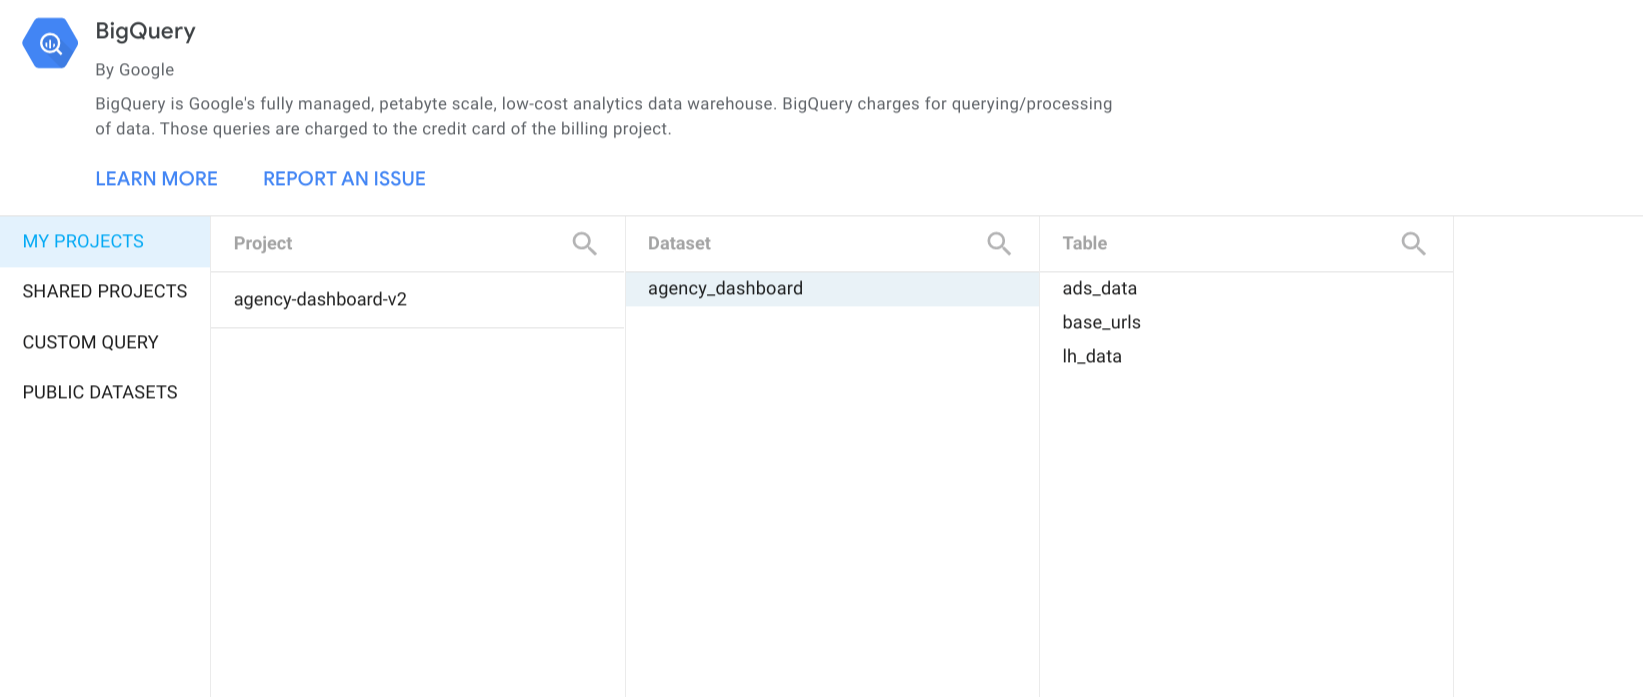
After confirming you want to copy the data source, a new window should open. Select your project, the agency_dashboard dataset, and the appropriate table for the connector being copied.
-
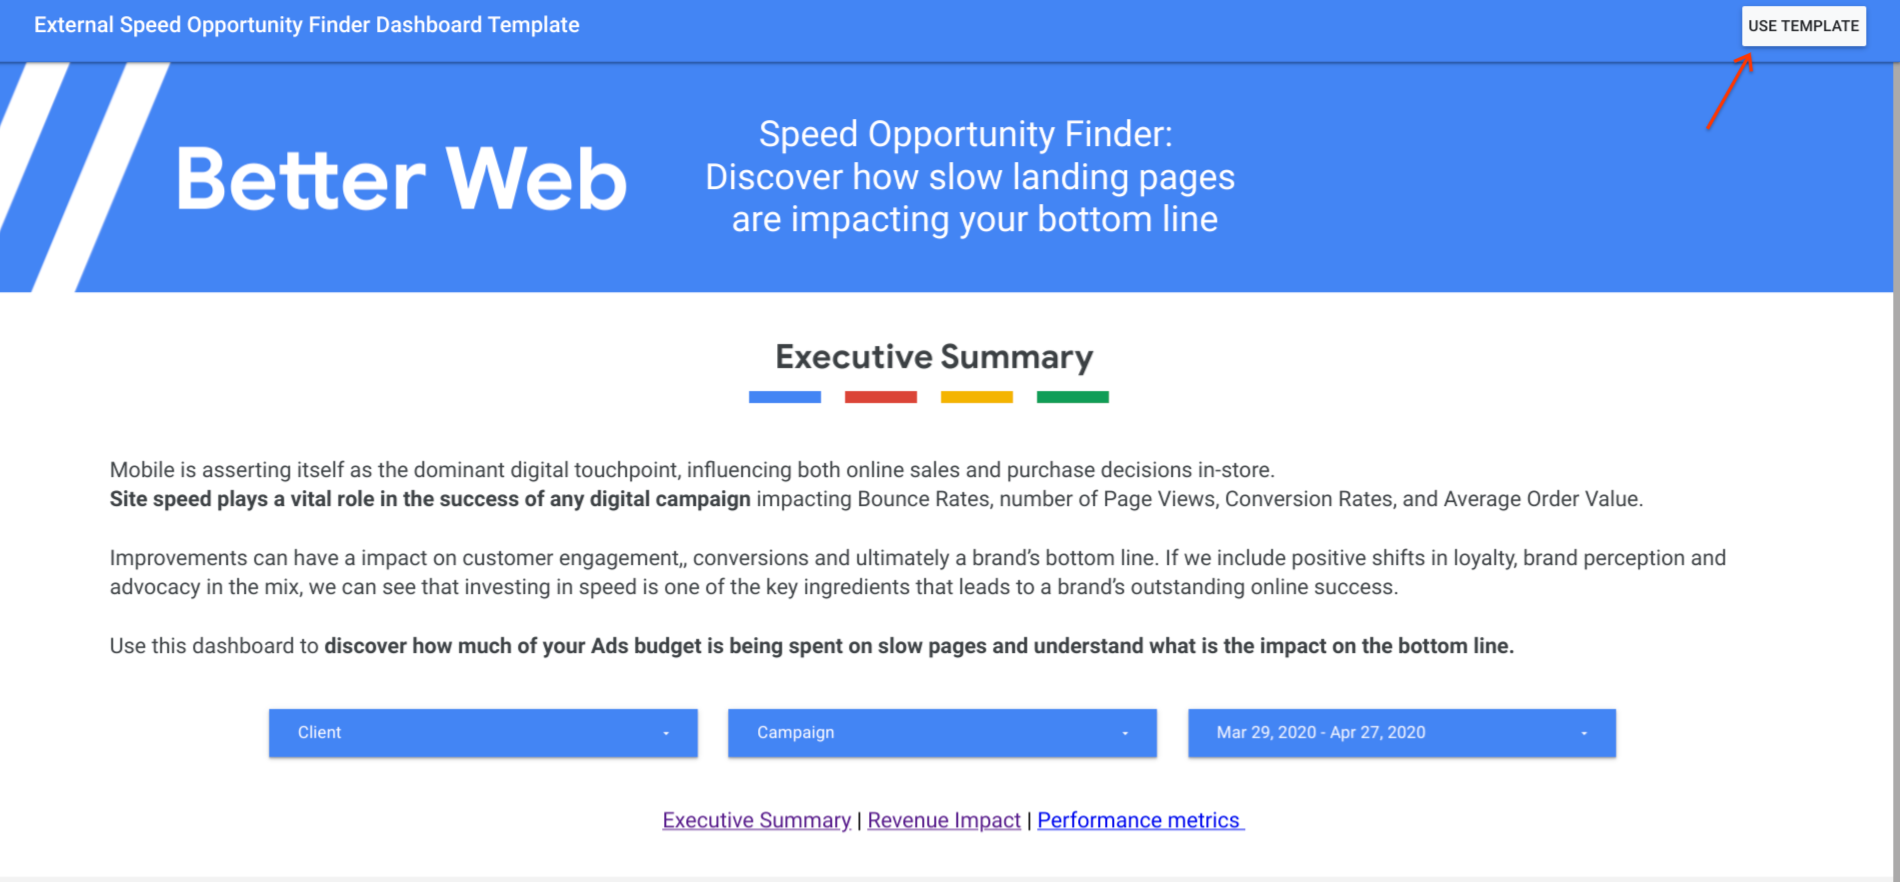
Make a copy of the dashboard template To copy the template, click the USE TEMPLATE button at the top right of the page.
- In the resulting dialog, choose the BigQuery data sources you created with
your project tables.