Exposure Notification Reference Key Server
View on GitHub
Getting Started
How to Deploy
Application Configuration
How to Publish Keys
How to Download Keys
Key Server Migration Guide
Estimating the Cost of Deployment
Design
Server Deployment Options
Server Functional Requirements
Verification Protocol Design
API Definitions
Temporary Exposure Key (TEK) Publishing Guide
This page explains how to configure the server and application to allow publishing keys from mobile applications to the server.
Prerequisites
If you haven’t started developing a mobile app, please take a look at the Android Exposure Notifications Reference App.
You need to complete the necessary steps to use the exposure notifications API. You should also ensure that you have taken the steps to comply with the Terms of Service.
What is a Temporary Exposure Key?
Temporary Exposure Keys, or TEKs, are anonymous keys shared between mobile devices to determine if two devices were sufficiently nearby to be considered “exposed” to one another. When an application user confirms they have been exposed, their keys are shared to the server in order for applications to download and determine if other users interacted with any of the now exposed keys.
The Publish API Call
TEKs are published by sending the appropriate JSON document in the body of
an HTTP POST request to the exposure server.
The structure of the API is defined in pkg/api/v1/exposure_types.go,
in the Publish type. Please see the documentation in the source file for details of the
fields themselves. The ‘publish’ API is hosted at /v1/publish on the exposure service.
Access to the API depends on the provided healthAuthorityID in the publish request, the
the verification certificate provided in the verificationPayload and how things are configured
at the server. Any region metadata assigned to TEKS will be done automatically
at the server. If a TEK is known to be outside of the “home area,” then the traveler field
should be set to true.
The reportType field present in TEK exports can ONLY BE SET through a verification certificate.
Here, we point out some non-obvious validation that is applied to the keys. All keys must be valid! If there are any validation errors, the entire batch is rejected.
The following are configurable variables for validating payloads:
| Environment Variable | Description | Default |
|---|---|---|
| MAX_KEYS_ON_PUBLISH | Max keys per publish | 30 |
| MAX_SAME_START_INTERVAL_KEYS | Max overlapping keys with same start interval. In practical terms, this means that if you are obtaining TEK history on a mobile device with >= v1.5 of the device API, it will stop the validity of the current day’s TEK and issue a new now. Both keys will have the same start interval. | 3 |
| MAX_INTERVAL_AGE_ON_PUBLISH | Max age. How old keys can be. All provided keys must have a rollingStartNumber that is >= to the max age. |
360h (15 days) |
| MAX_SYMPTOM_ONSET_DAYS | Max magnitude of days since symptom onset | 21 |
In addition to the above configurations,
- Keys with a future start time (
rollingStartNumberindicates time > now), are rejected. - Keys that are “still valid” are accepted by the server, but they are embargoed
until after they key could no longer be replayed usefully. A stall valid key
is one where the
rollingStartNumberis in the past, but therollingStartNumber+ therollingPeriodindicates a future time. - When using health authority verification certificates
(strongly recommended), the TEK data in the publish request and the
hmackeymust be able to be used to calculate the HMAC value as present in the certificate.
The Publish Response
One of the fields of the publish request is the revisionToken. The revision token is an encrypted
piece of metadata that must be passed to the server again, if the same device wants to either
upload additional TEKs later or revise the status of TEKs already uploaded. This ensures that
the new upload came from the same device that originated the TEK and that the request go to the
same server only.
The content of the revision token cannot be used to infer that a client ever uploaded keys or what their diagnosis status is. It is recommended that clients fill this spot in memory with random data in advance of TEK publish.
The publish response may also include a warnings field. These are not errors,
but may indicate a client-side bug in key generation or processing. These
warnings are primarily for app developers and not end-users.
Chaff Requests
It may be possible for a server operator or network observer to glean information about client’s communicating with the server. To minimize this, the exposure service supports chaff (fake) requests. Your client should send regular chaff requests. To send a chaff request:
-
Create a real request with a real request body.
-
Set the
X-Chaffheader on the request. -
Receive and discard the response. Do not process the response!
Server Access Configuration
In order for your application to publish keys to the server, the server requires the registration of the Application Name (for Android) or the Bundle ID (for iOS). This can be done via the admin interface.
To add these entries, we can use the Admin Console Application. For instructions on how to launch the console, you can view the deployment documentation.
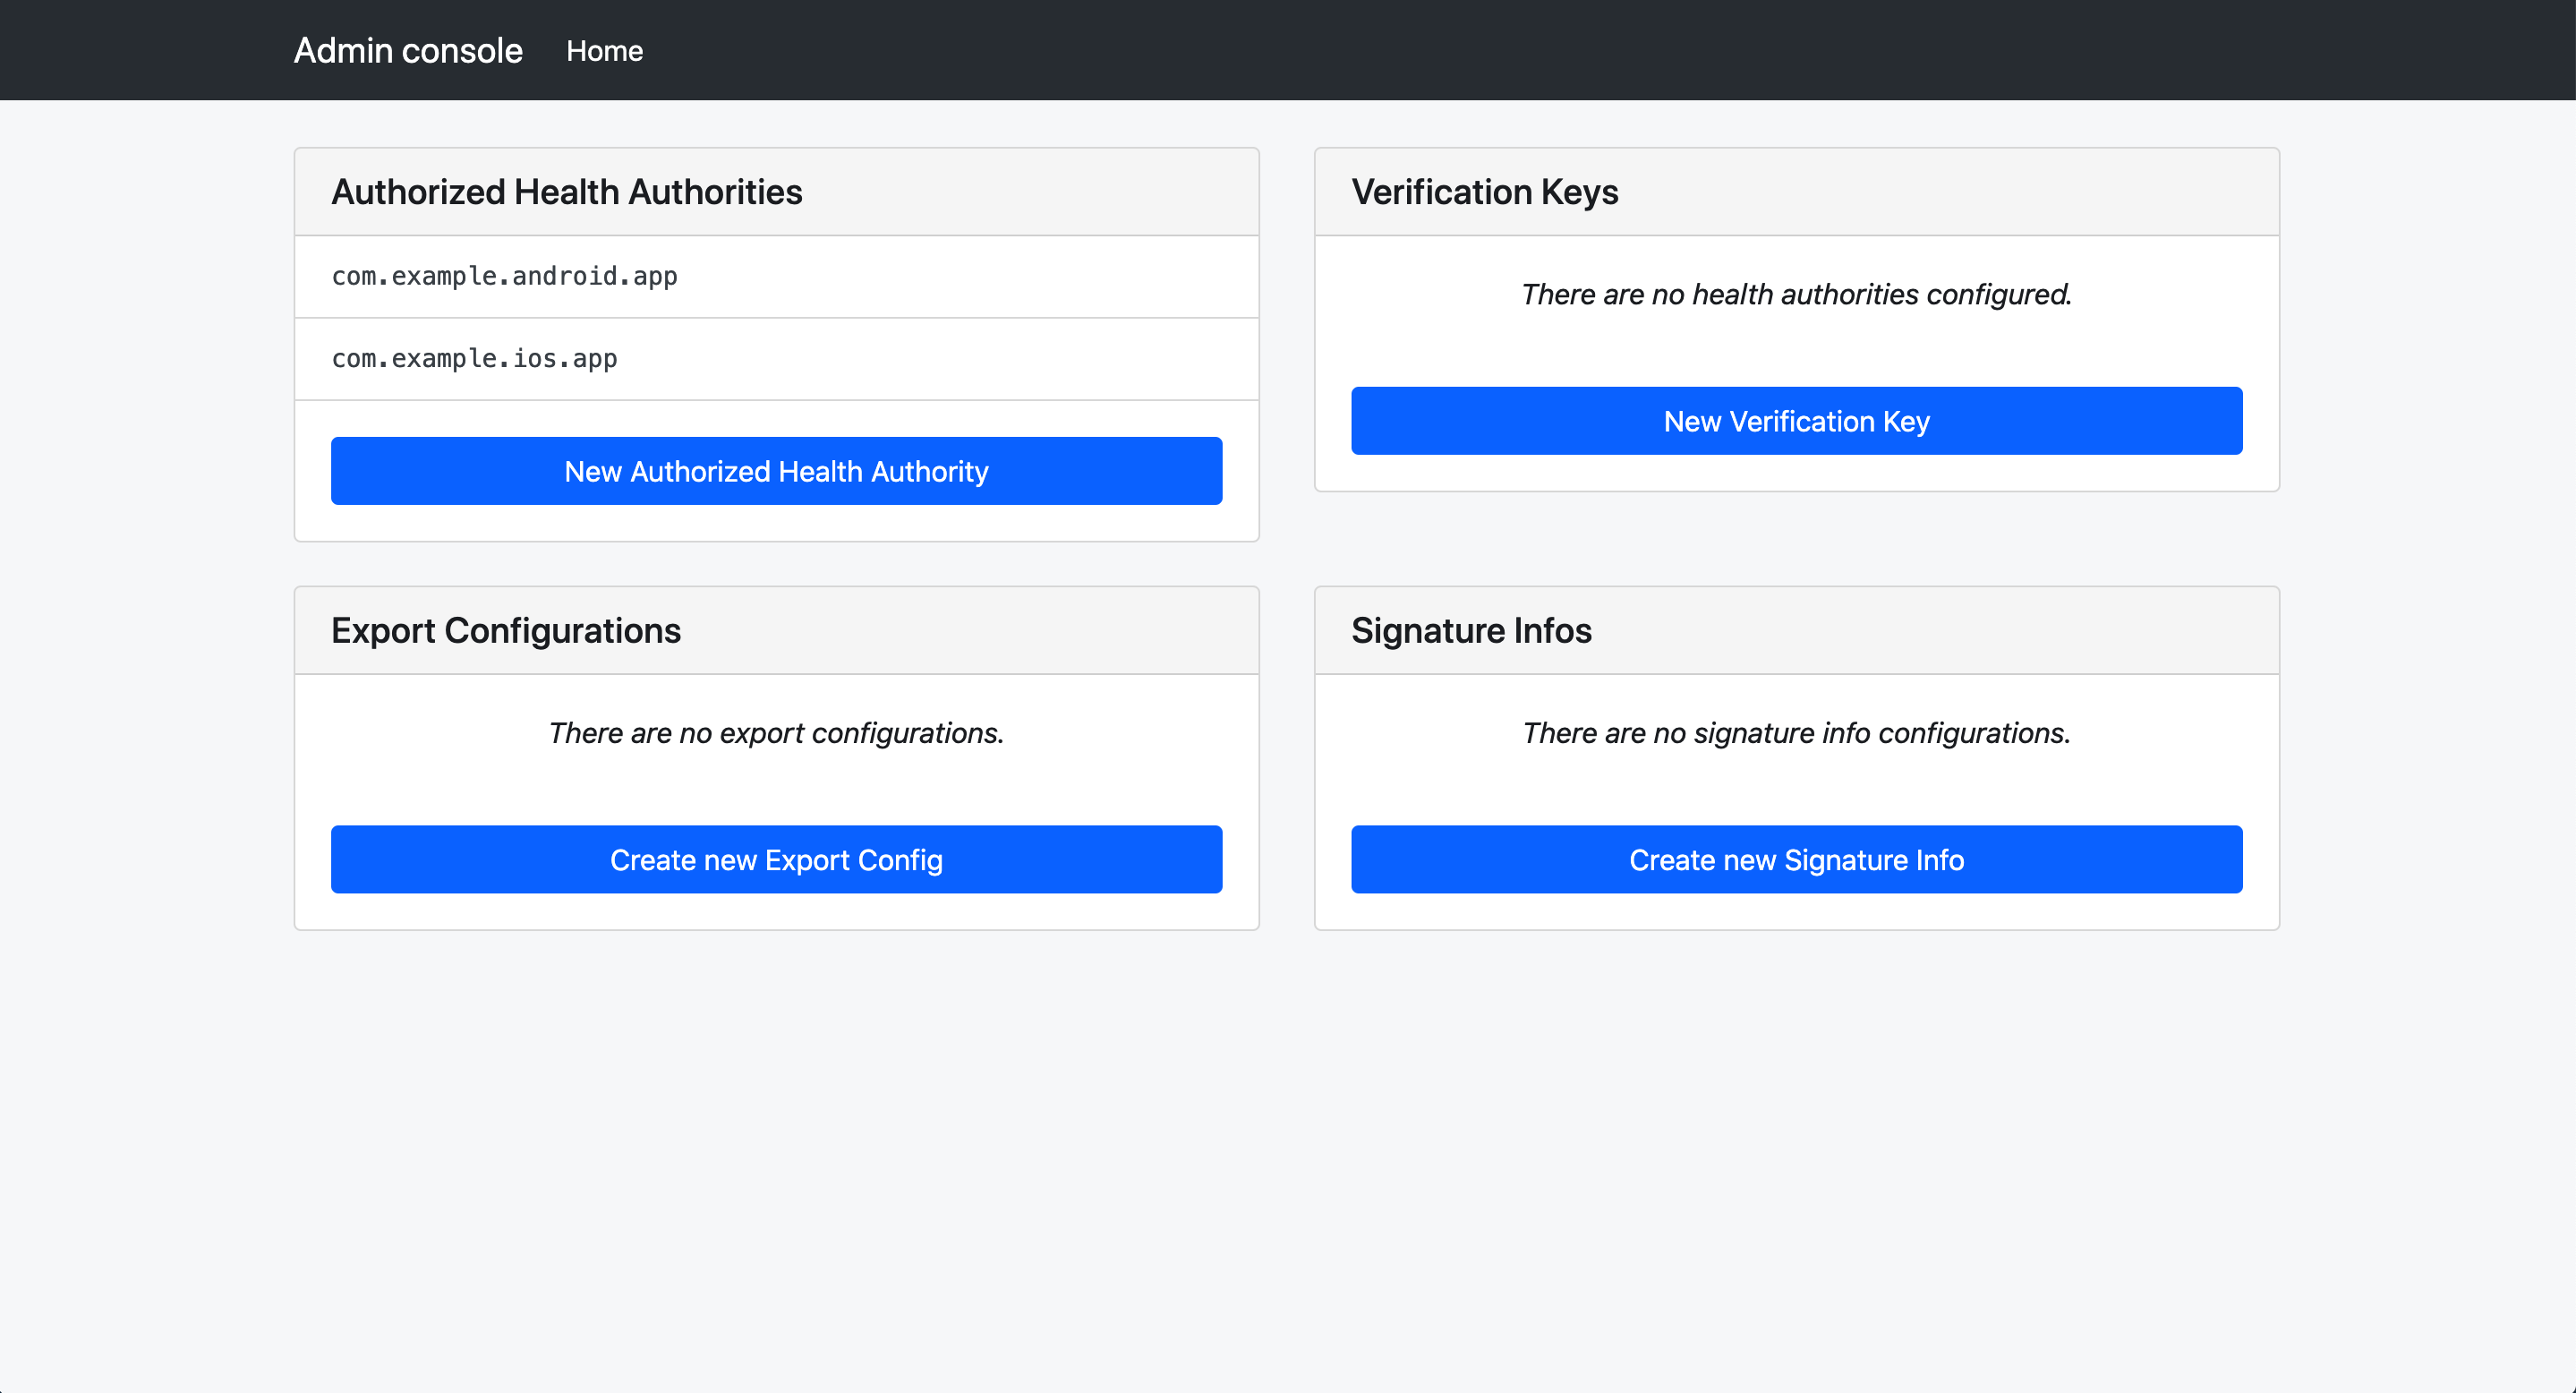
Once the Admin Console is launched, you will see a few choices presented.

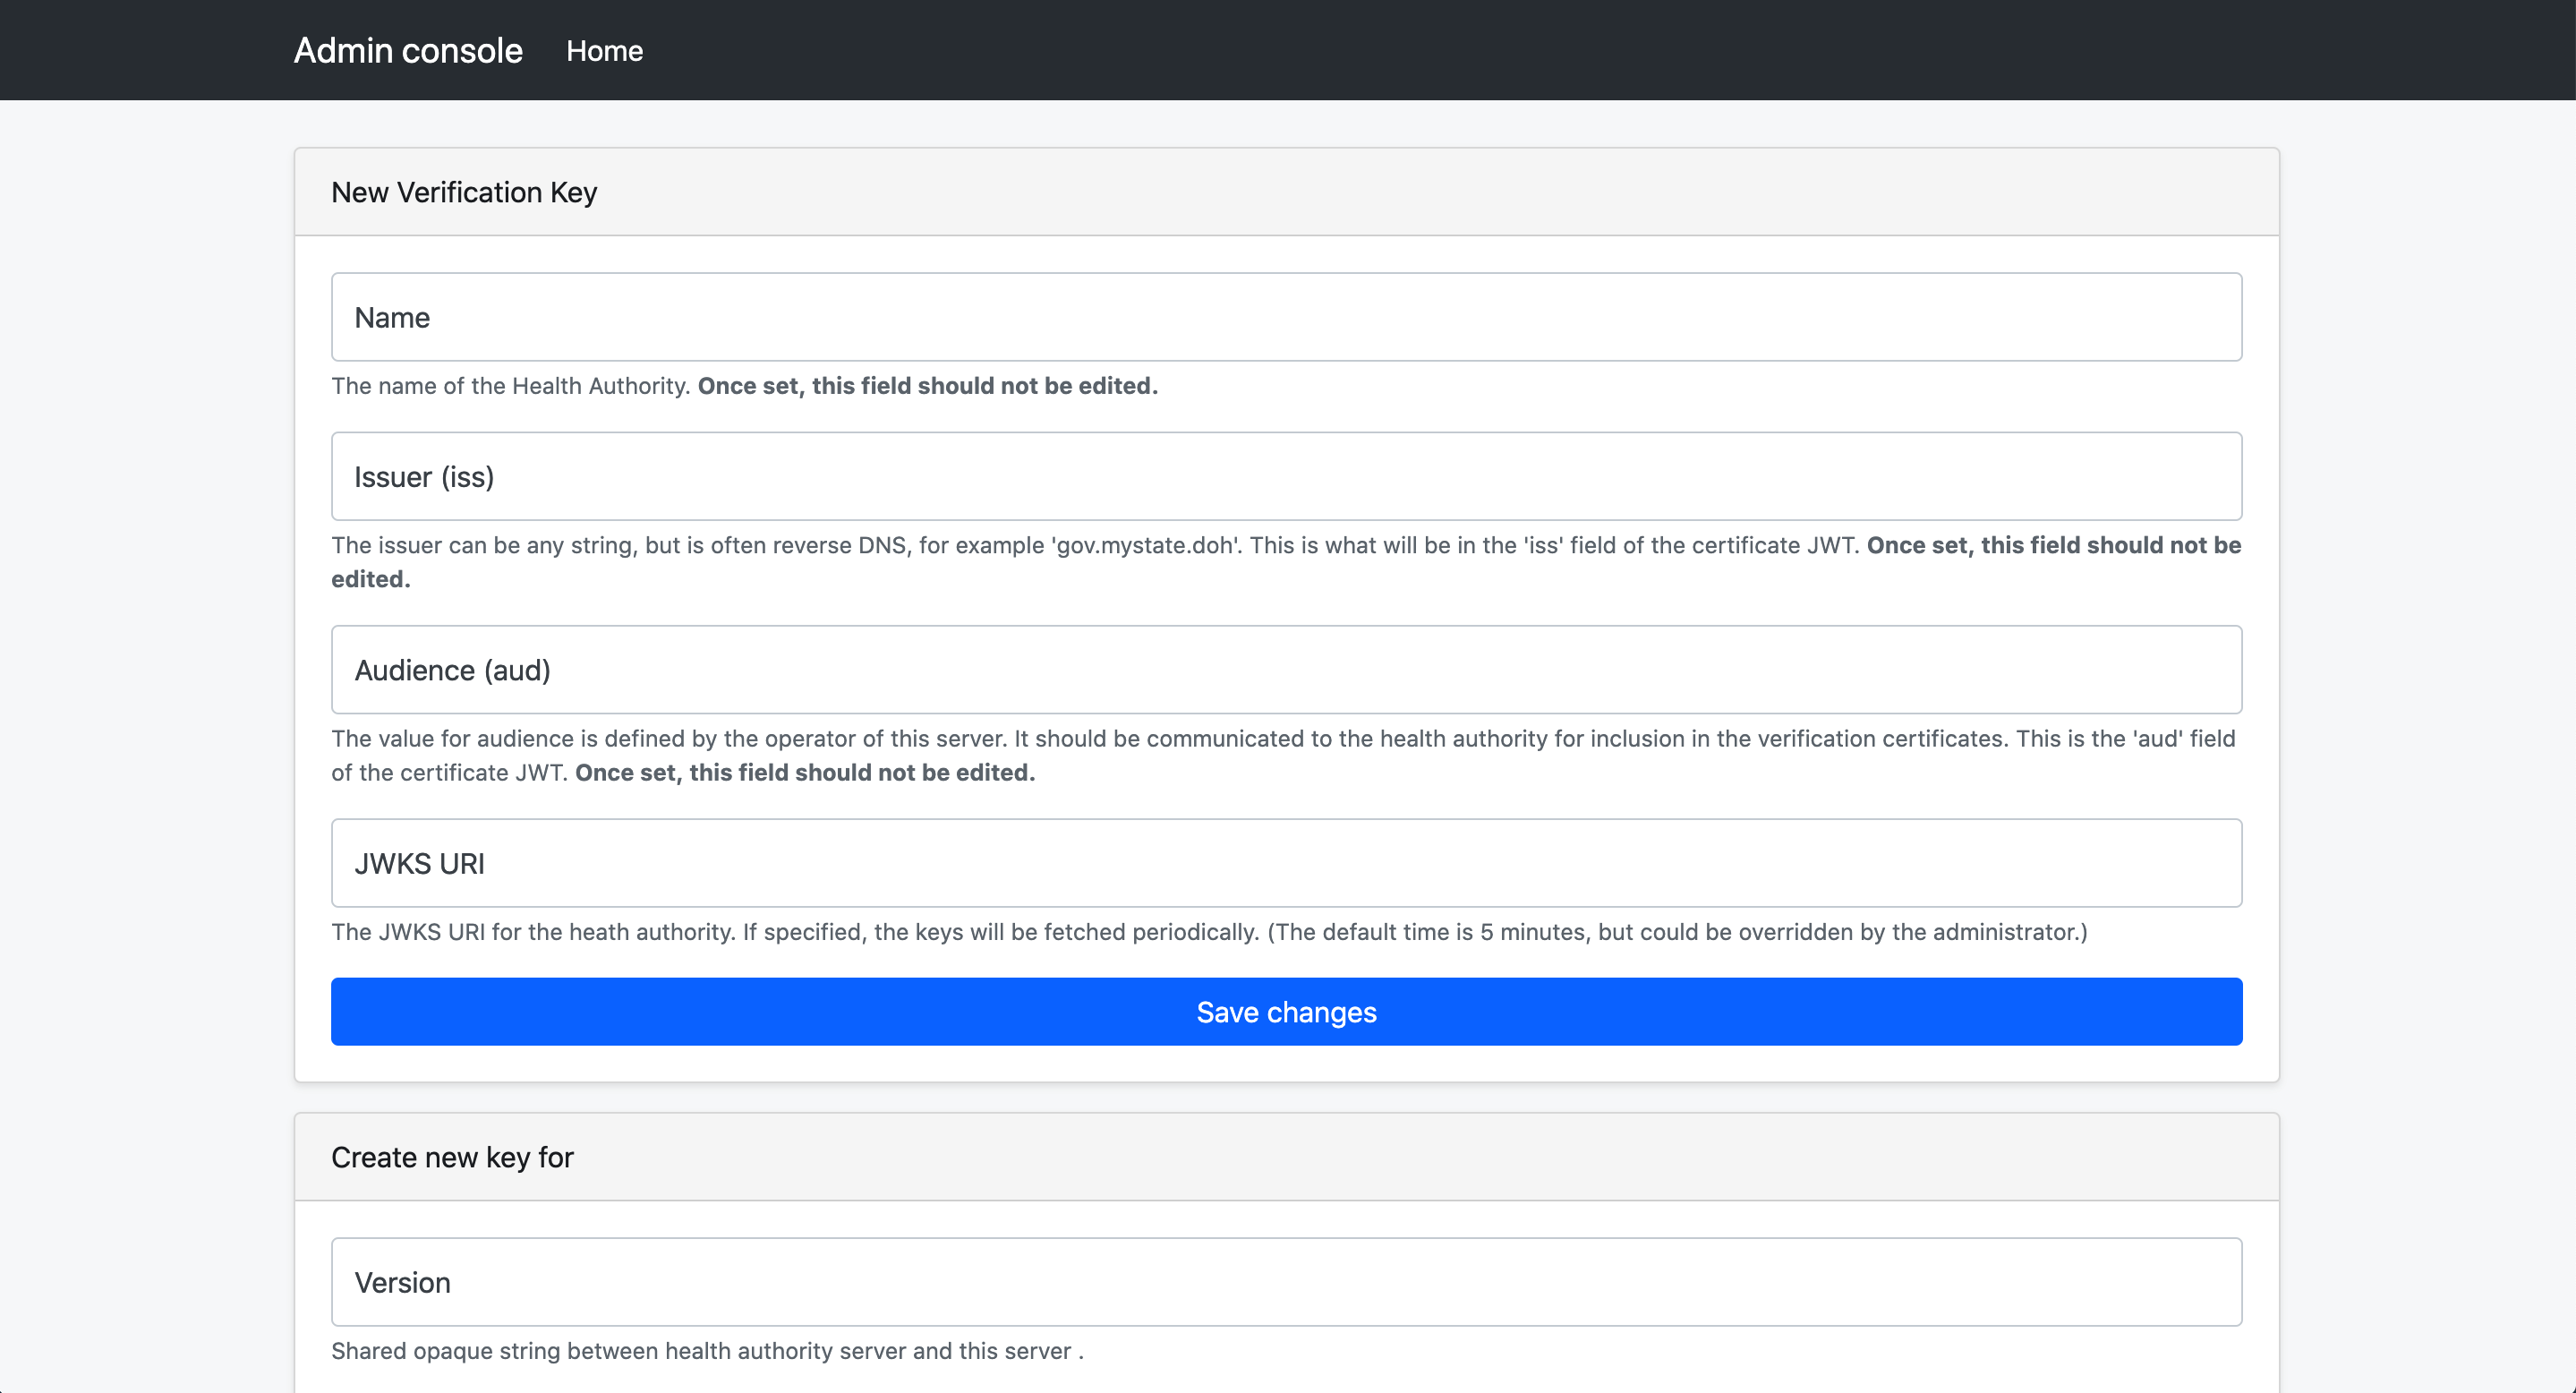
First, we need to configure the verification sever piece. Select “Create New Health Authority Key Configuration”
Create the configuration for the JWT configuration for the verification server’s certificate data, including the issuer, audience, and a human readable name.

After the initial save, the public key can be added.
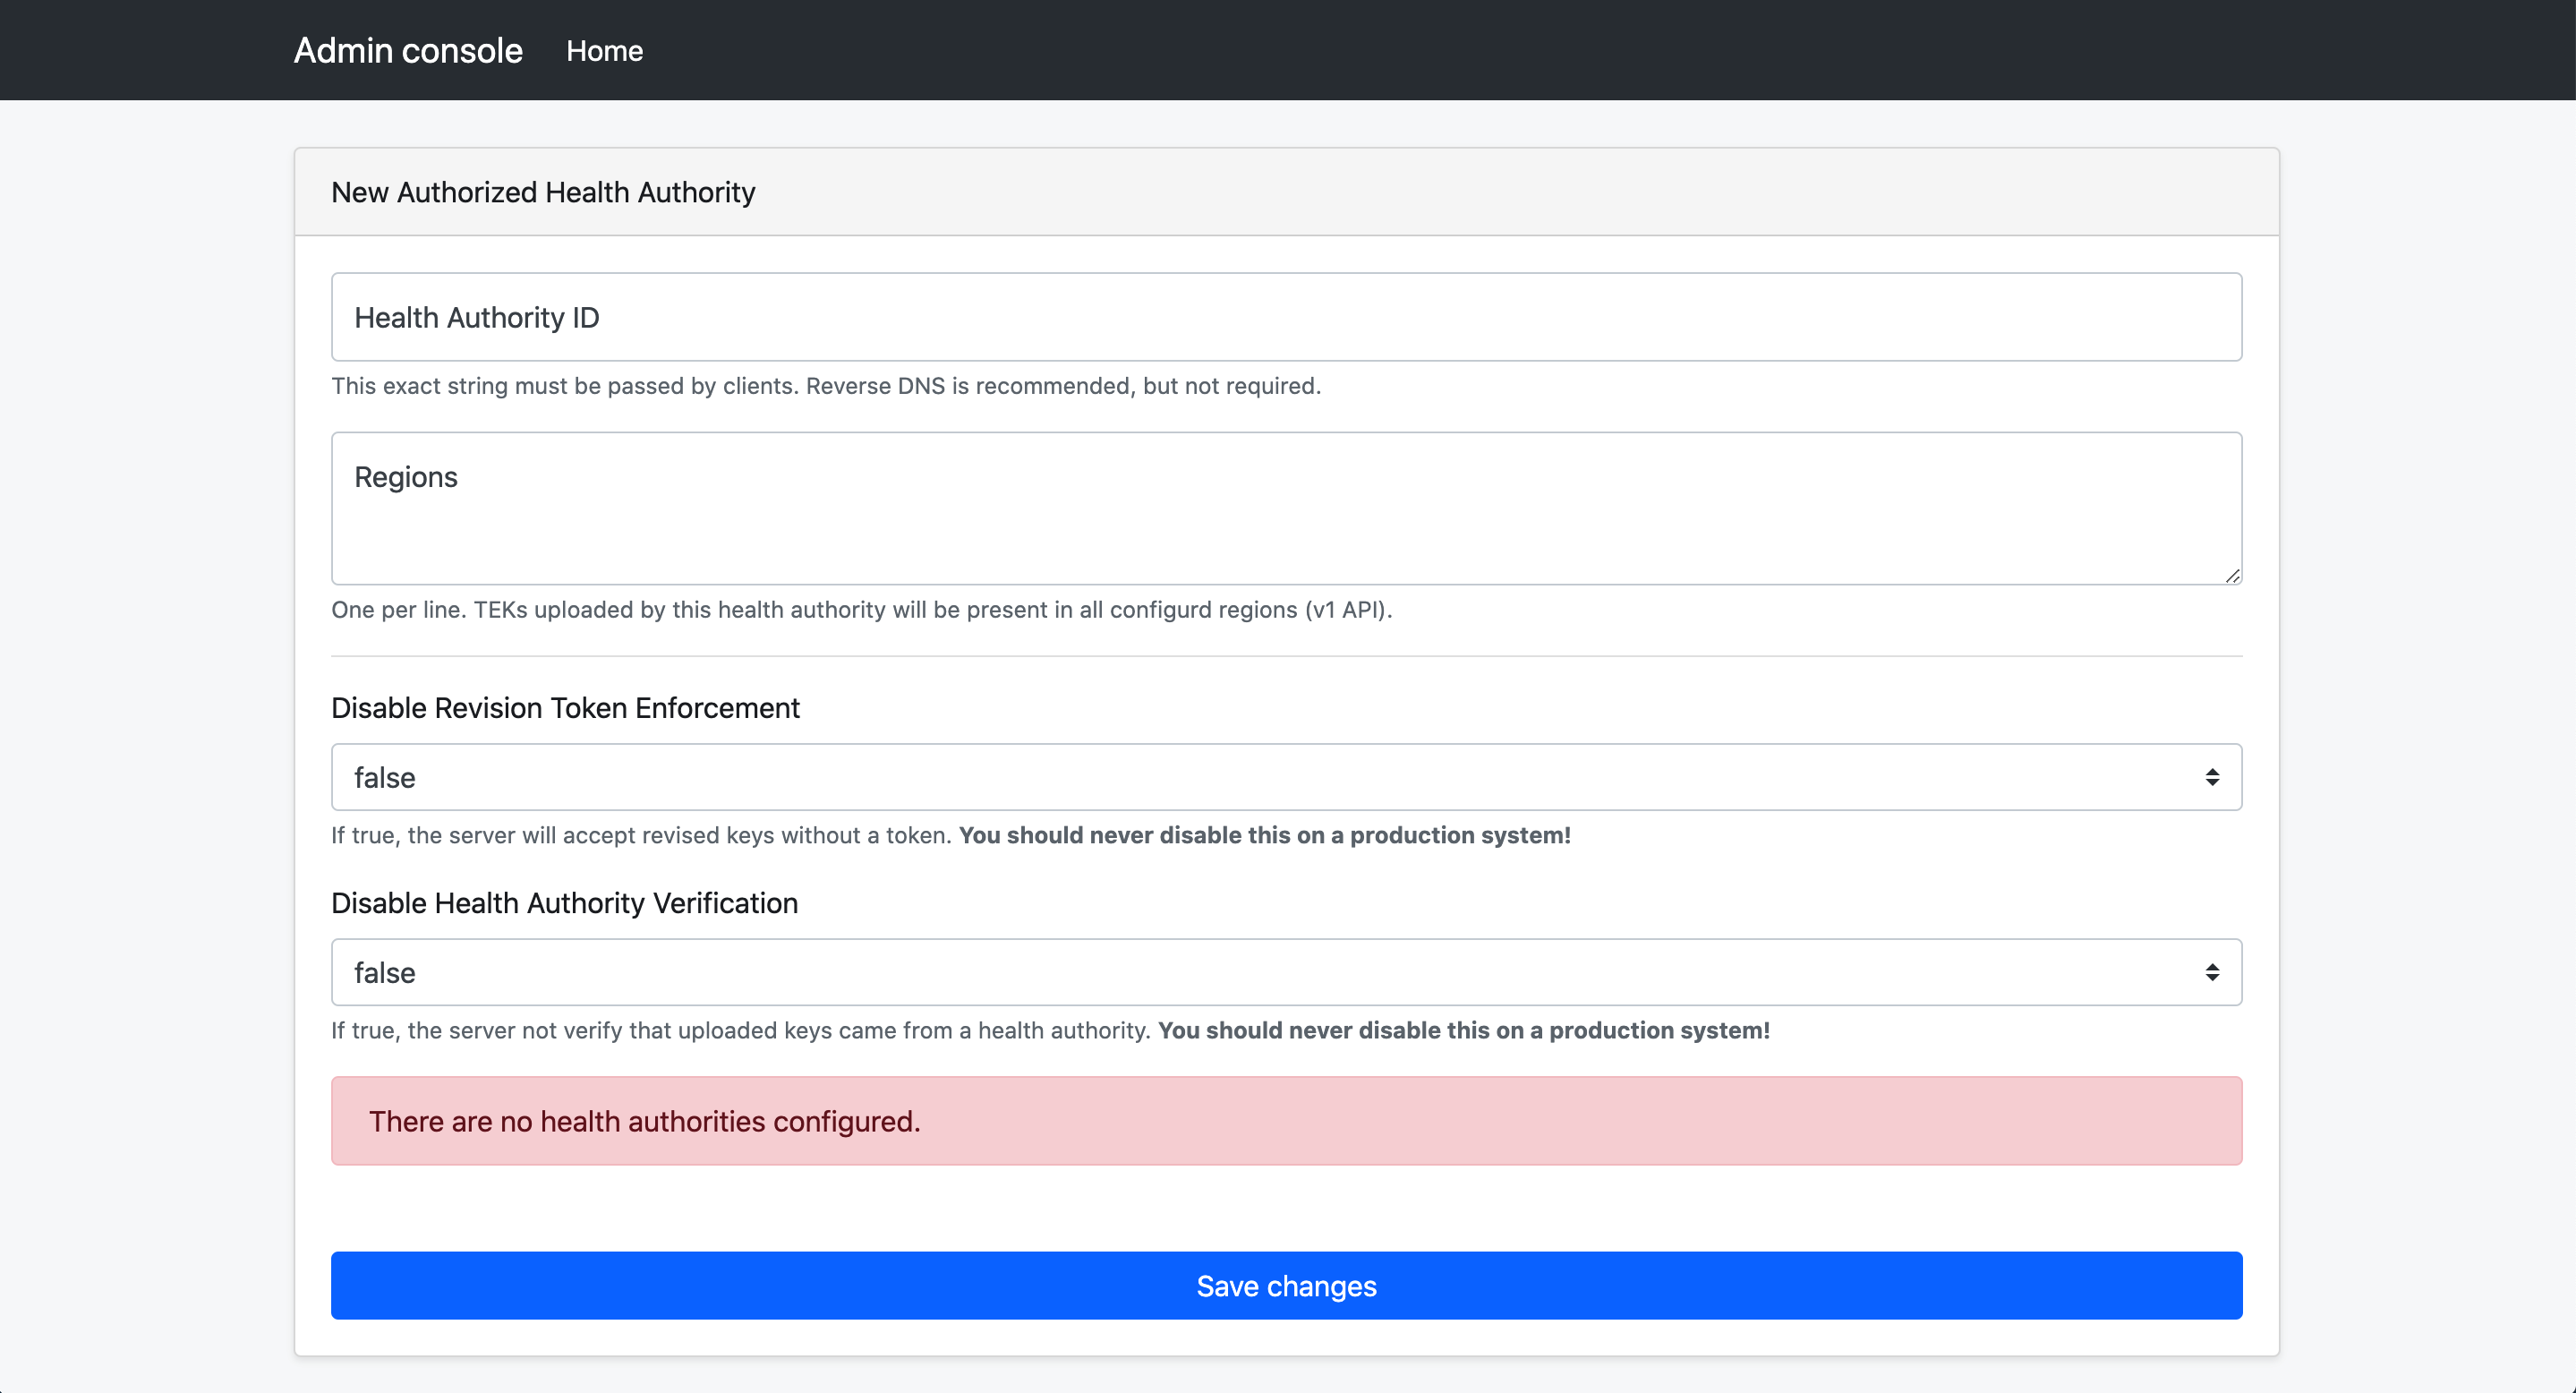
Back at the home screen of the admin console, select “Create new Authorized Health Authority”

The “Health Authority ID” field is a string that your mobile app will need to send on publish requests.
The list of regions provided will be automatically added to all TEKs uploaded via that health authority ID.
There are two bypass settings that can make development easier for your app developers.
- Revision Token Enforcement Disabled: Must be set to false in production environments. Can be set to true for testing
- Health Authority Verification Disabled: Must be set to false in production environments. Can be set to true for testing
Health Authority Certificates to Accept: Check the certificate you configured earlier. This allows this health authority to trust verification certificates from that verification server.
For more information on diagnosis verification, see:
- Reference server: exposure-notification-verification-server
- verification protocol design