Table of contents
Work with Files and Branches
Figma empowers designers to try different ideas with two tools: multiple files, and file branches. The Design Switcher lets you change the file or branch that your Design Elements are coming from, so you can quickly try out a lot of different ideas in-car, without making destructive edits to your starting file. The Design Switcher also shows the current synchronization status, so you can check the last time your file was updated, or see if there is an issue (such as poor connectivity) preventing updates. It also provides advanced controls for Live Update parameters, such as the fetch interval and pause timeout.
The Design Switcher is available when running in Live Update mode. The Design Switcher normally occupies a small area in the top right corner of the screen:

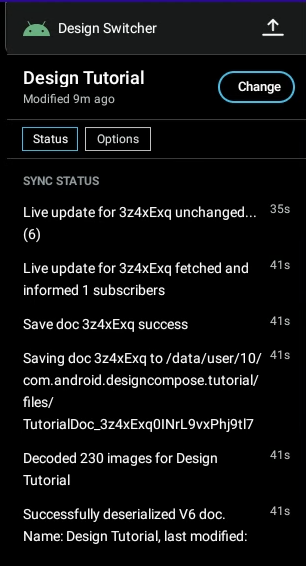
Tap Change to open a list of alternative files, and a text field to enter a Figma File ID into:

Figure 3. The Design Switcher showing a file and Live Update controls.
Attempting to load an invalid file ID results in a failure after a few seconds and the Design Switcher reverts to the original file ID.
The list of branches and project files is refreshed every few seconds, letting you quickly try out new ideas!
Live Update Controls
The expanded Design Switcher displays the current configuration for Live Update:
- Live Mode Toggle: A button indicating if Live Updates are currently “Live”, “Offline”, or “Paused”. Tapping this button manually pauses or resumes the live connection to Figma.
- Fetch Interval: Displays the frequency (in minutes) at which DesignCompose polls Figma for updates.
- Pause Timeout: Displays the duration (in minutes) after which the Figma API token is automatically revoked if the application is not actively used.
To learn how to modify these values using ADB commands, see the Advanced Live Update Configuration section.
Control the Design Switcher from code
By default, the Design Switcher appears at the top right corner of a @Composable Figma view if the Figma view is the root view. For example if your activity’s main content is a Figma view, then that view is the root view and all of its children are non-root Figma views:
override fun onCreate(savedInstanceState: Bundle?) {
    super.onCreate(savedInstanceState)
    DesignSettings.enableLiveUpdates(this)
    ...

    setContent{
        // MainFrame is generated from our @DesignComponent macro
        CenterDisplayDoc.MainFrame()
    }
}
However, if your root view is a standard Android view and you have some children that are Figma views, each of those children are root views, and you probably wouldn’t want each to have its own Design Switcher. To support this, add the @DesignComponent parameter hideDesignSwitcher = true. You can then manually add a Design Switcher to a ViewGroup using the generated function addDesignSwitcherToViewGroup(Activity, ViewGroup). For example:
@DesignDoc(id = "FvnQGlHGy2mEyvB11PakjC")
interface SwitcherAndroidView {

    // !!! Hide the Design Switcher
    @DesignComponent(node = "#Red", hideDesignSwitcher = true)
    fun RedSquare() {}
}

override fun onCreate(savedInstanceState: Bundle?) {
    super.onCreate(savedInstanceState)
    DesignSettings.enableLiveUpdates(this)
    ...

    // Use a regular Android.View-based scroll view for our main UI
    setContentView(R.layout.activity_scrollview)

    // !!! Add the Design Switcher to the root view group.
    val root = findViewById<View>(R.id.root) as FrameLayout
    SwitcherAndroidViewDoc.addDesignSwitcherToViewGroup(this, root)

    // Add three instances of a the SwitcherAndroidView
    addFigmaView()
    addFigmaView()
    addFigmaView()
}

private fun addFigmaView() {
    val figmaView = ComposeView(this).apply{
        setContent{
            // This Figma-defined Composable won't include the Design Switcher,
            // even though it is a root Composable, because of the
            // `hideDesignSwitcher = true` in the `@DesignComponent` annotation
            // above.
            SwitcherAndroidViewDoc.RedSquare()
        }
    }
    // Add our Figma-defined Composable to the scroll view.
    val scrollView = findViewById<LinearLayout>(R.id.scrollable_content)
    scrollView.addView(figmaView)
}
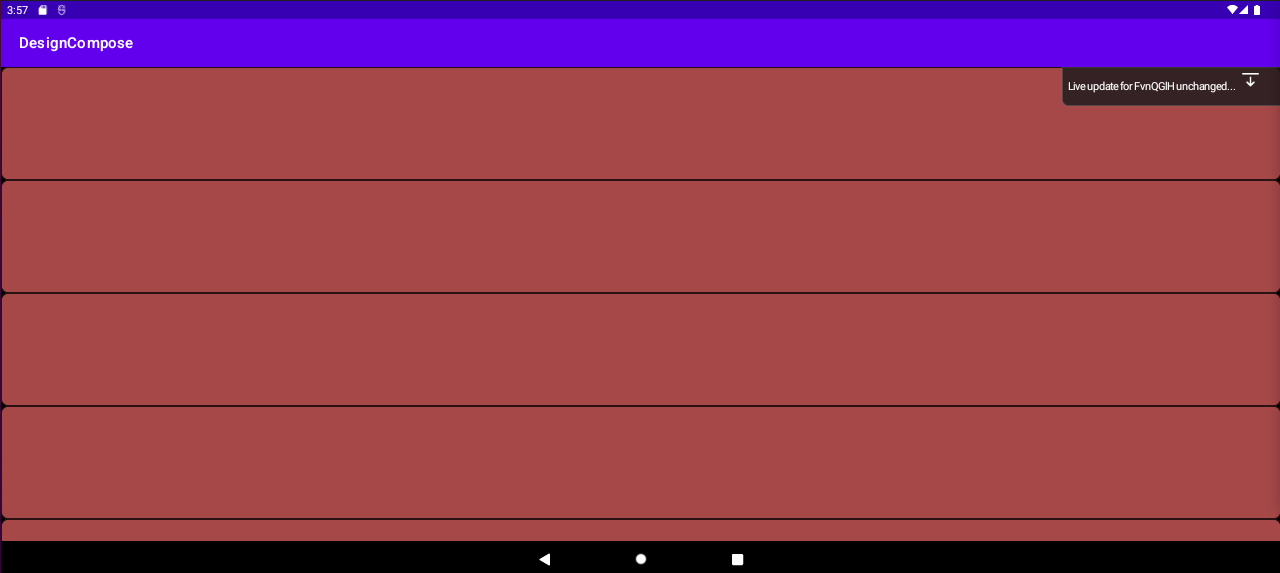
Figure 4. The Design Switcher in a ViewGroup.
The Design Switcher also generates a new @Composable fun DesignSwitcher(Modifier) function that you can use wherever you want to place the Design Switcher.